Imagine this—you're sitting in your favorite coffee shop, sipping your latte, and suddenly you need to access your Raspberry Pi back at home. No worries, my friend! You can control your Raspberry Pi remotely without breaking a sweat. In this article, we'll dive deep into the world of remote Raspberry Pi management, covering everything from setting up to troubleshooting like a boss.
Let's face it—Raspberry Pi has become the go-to device for hobbyists, developers, and tech enthusiasts. But what happens when you're not physically near your Pi? Fear not! Learning how to control your Raspberry Pi remotely is easier than you think, and it opens up a whole new level of convenience and flexibility.
In this guide, we'll break down the steps, tools, and tricks to help you master remote access. Whether you're setting up a home server, running automation scripts, or just tinkering around, this article will be your ultimate cheat sheet. So grab your favorite snack, and let's get started!
Here's a quick overview of what we'll cover:
- Setting Up Your Raspberry Pi for Remote Access
- Using SSH to Connect Remotely
- Exploring VNC for Graphical Remote Control
- Configuring Your Network for Remote Access
- Top Tools for Managing Your Raspberry Pi
- Common Issues and How to Fix Them
- Securing Your Remote Connections
- Automating Tasks with Cron Jobs
- Using Apps for Remote Management
- What’s Next for Raspberry Pi Remote Control?
Setting Up Your Raspberry Pi for Remote Access
Before we dive into the nitty-gritty, let's make sure your Raspberry Pi is ready for remote control. The first step is ensuring your Pi is up and running with the latest version of Raspberry Pi OS. Trust me, starting with a clean slate makes life so much easier.
Once your Pi is powered on, connect it to your local network using an Ethernet cable or Wi-Fi. You'll also want to note down its IP address. This is super important because it's like the home address for your Pi on the network.
Pro tip: Use a static IP address to avoid any headaches later. Nothing's worse than trying to connect to your Pi only to find out its IP has changed. You can set this up in your router settings or directly on the Pi.
Why Static IP Matters
Think of a static IP as your Pi's permanent ID card. Without it, your Pi might get a new IP every time it reconnects to the network, making remote access a nightmare. So take a few minutes to set this up—it'll save you tons of time in the long run.
Using SSH to Connect Remotely
SSH (Secure Shell) is hands down the most popular way to control your Raspberry Pi remotely. It's secure, reliable, and super easy to set up. Here's how you can enable SSH on your Pi:
- Open the Raspberry Pi Configuration tool by typing
sudo raspi-configin the terminal. - Go to Interfacing Options and enable SSH.
- Reboot your Pi to apply the changes.
Once SSH is enabled, you can connect to your Pi from any device using an SSH client. On Windows, PuTTY is a great option, while macOS and Linux users can simply use the terminal.
Here's the command you'll need:
ssh pi@your-pi-ip-address
Replace your-pi-ip-address with the actual IP of your Pi. Easy peasy, right?
SSH Tips and Tricks
- Use SSH keys for passwordless login—it’s more secure and convenient.
- Consider forwarding SSH traffic through a secure tunnel if you're accessing your Pi from outside your local network.
- Don’t forget to change the default password for the
piuser to something more secure.
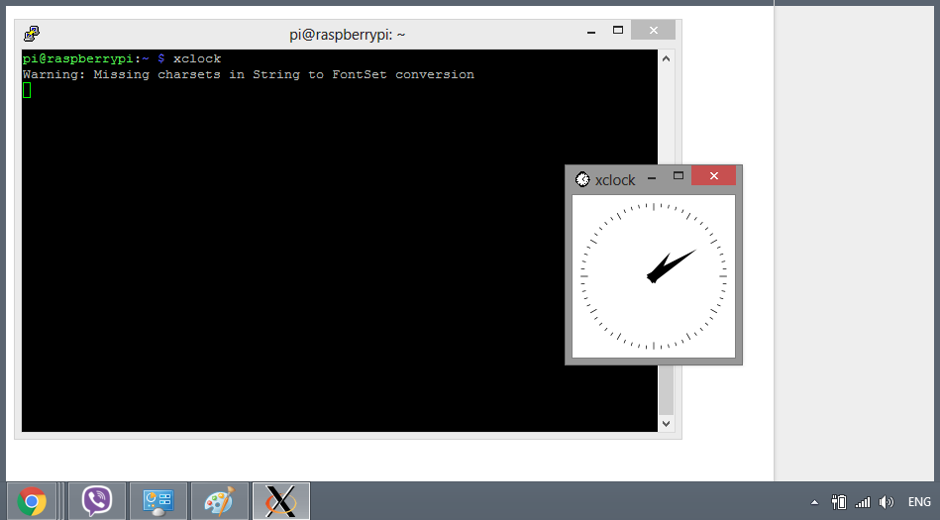
Exploring VNC for Graphical Remote Control
While SSH is great for command-line tasks, sometimes you need full graphical access to your Pi. That's where VNC (Virtual Network Computing) comes in. VNC lets you control your Pi's desktop as if you were sitting right in front of it.
To set up VNC, follow these steps:
- Enable VNC in the Raspberry Pi Configuration tool under Interfacing Options.
- Install a VNC client on your computer or mobile device. RealVNC Viewer is a popular choice.
- Connect to your Pi using its IP address and the default credentials.
VNC is perfect for tasks that require a graphical interface, like setting up software or managing files. Just keep in mind that it might be a bit slower than SSH, especially over a poor internet connection.
VNC Best Practices
- Use a high-quality internet connection for smoother performance.
- Consider compressing the video stream to reduce bandwidth usage.
- Always encrypt your VNC connections to protect sensitive data.
Configuring Your Network for Remote Access
Now that your Pi is set up for remote access, it's time to make sure your network is ready. This involves configuring your router and firewall to allow incoming connections.
One of the most important steps is setting up port forwarding. This tells your router which device to send incoming traffic to. For SSH, you'll typically forward port 22 to your Pi's IP address. For VNC, it's usually port 5900.
Also, don't forget to enable UPnP (Universal Plug and Play) on your router if it's supported. This can simplify the process of setting up port forwarding.
Network Security Tips
- Use strong passwords for all your devices and accounts.
- Regularly update your router's firmware to patch security vulnerabilities.
- Consider using a hardware firewall for an extra layer of protection.
Top Tools for Managing Your Raspberry Pi
There are tons of tools out there to help you manage your Raspberry Pi remotely. Here are a few of my favorites:
- Screen: A terminal multiplexer that lets you run multiple sessions in one SSH connection.
- tmux: Another great multiplexer with more advanced features than Screen.
- rsync: A powerful tool for syncing files between your Pi and other devices.
- Fail2Ban: Helps protect your Pi from brute-force attacks by blocking malicious IP addresses.
These tools can make your life so much easier when managing your Pi remotely. Take some time to explore them and see which ones work best for you.
Why These Tools Are Essential
Think of these tools as your Swiss Army knife for Raspberry Pi management. They provide everything from file transfer to security protection, all in one package. Plus, they're mostly free and open-source, so you can't go wrong!
Common Issues and How to Fix Them
Even the best-laid plans can go awry. Here are some common issues you might encounter when trying to control your Raspberry Pi remotely, along with solutions:
- Can't connect via SSH: Double-check your IP address and make sure SSH is enabled. Also, verify that your router allows incoming connections on port 22.
- VNC connection drops: This could be due to a poor internet connection or excessive bandwidth usage. Try reducing the video quality or switching to SSH for command-line tasks.
- Firewall blocks access: Make sure your firewall rules allow traffic on the necessary ports. You might also need to whitelist your IP address if you're accessing your Pi from a specific location.
Remember, troubleshooting is all about patience and persistence. If something doesn't work the first time, take a deep breath and try again.
Troubleshooting Like a Pro
Here are a few tips to help you troubleshoot like a pro:
- Keep detailed logs of your setup and configuration steps.
- Use tools like
pingandtracerouteto diagnose network issues. - Don't hesitate to consult the Raspberry Pi forums or community for help.
Securing Your Remote Connections
Security should always be a top priority when controlling your Raspberry Pi remotely. Here are some steps you can take to keep your Pi safe:
- Change the default SSH port to something less obvious, like 2222.
- Use SSH keys instead of passwords for authentication.
- Enable two-factor authentication for an extra layer of security.
By following these best practices, you can significantly reduce the risk of unauthorized access to your Pi.
Security Best Practices
Here are a few more security tips to keep in mind:
- Regularly update your Pi's software and firmware to patch vulnerabilities.
- Monitor your system logs for suspicious activity.
- Consider using a hardware security module (HSM) for ultra-secure key storage.
Automating Tasks with Cron Jobs
One of the coolest things about Raspberry Pi is its ability to automate tasks. With cron jobs, you can schedule scripts and commands to run at specific times or intervals.
To create a cron job, use the crontab -e command. Here's a simple example:
0 2 * * * /path/to/your/script.sh
This will run the specified script every day at 2 AM. You can customize the schedule to fit your needs, whether it's backing up files, updating software, or running maintenance tasks.
Why Automate?
Automation saves time, reduces errors, and ensures consistency. By setting up cron jobs, you can focus on more important tasks while your Pi takes care of the mundane ones.
Using Apps for Remote Management
If you prefer a more user-friendly approach, there are plenty of apps available for managing your Raspberry Pi remotely. Some popular options include:
- Raspberry Pi Imager: A must-have for flashing new operating systems to your Pi's SD card.
- Termius: A powerful SSH client for iOS and Android devices.
- RealVNC Viewer: The official VNC app for accessing your Pi's desktop.
These apps make it easy to manage your Pi on the go, whether you're using a smartphone, tablet, or laptop.
Why Use Apps?
Apps provide a more intuitive interface than command-line tools, making them ideal for beginners or those who prefer a graphical approach. Plus, they're often optimized for mobile devices, so you can manage your Pi from anywhere.
What’s Next for Raspberry Pi Remote Control?
As technology continues to evolve, so does the world of Raspberry Pi remote control. We're already seeing advancements in cloud-based solutions, AI-powered automation, and IoT integration. The possibilities are endless!
So whether you're a seasoned pro or just starting out, there's never been a better time to explore the world of Raspberry Pi remote management. Who knows—maybe one day you'll be controlling your Pi from the comfort of Mars!
Final Thoughts
Learning how to control your Raspberry Pi remotely is a valuable skill that opens up a world of possibilities. From setting up SSH and VNC to automating tasks with cron jobs, the tools and techniques we've covered will help you take your Pi to the next level.
So what are you waiting for? Grab your Pi, fire up your favorite terminal, and start exploring. And don’t forget to share your experiences in the comments below. Happy tinkering, and stay awesome!